Saturday, July 11, 2015

Project Domino:Getting the Old Girl Road Worthy

One of the first things that was lacking, was a good battery.  The old lead acid one, like maybe 10 years old, and long dead.  The dirty yellow top is also mostly dead and not up to the task.  You may have noticed I went with the Optima D51R this time instead of the normal sized battery.  It actually has plenty of cranking power, and weighs 10 lbs less.  I also am not planning to have a banging stereo in this car.


Ultimately the battery will be mounted in the trunk, probably in this spot, but standing up.


The green plug in the center is the flashing mode jumper from the 03 WRX harness.  As you may guess, it needs to be in test mode for the Tactrix cable, plugged into the OBDII, to read and write the ECU ROM.  We actually had a few problems getting it working in the first place.  Brydon actually had a bug in the write up, and a few of the pins were swapped in the OBDII connector.  Once we fixed that, the ECUFash tool was working perfectly.  

Still pending on the harness, are the AVCS solenoids are throwing faults, so maybe there is a nother bug?  Also the O2 sensor is reading 0.  Oh well, we are almost there.


Another large gap was the exhaust system.  Luckily I had an extra turbo back laying around from my other car that I could cut up and make work.  I also had a Kinugawa twin scroll bell-mouth elbow that they don't sell anymore.  I had to cut the single scroll elbow that was on there off, and swapped it for the Kinuagawa one.  Then the midpipe was shortened by like 1.5", and then the transmission brackets were adjusted.  Voila, I now have a custom turbo back that is compatible with a GM chassis and a JDM EJ207 twin scroll motor.

The other part of the story is that it was really hard to find a place that would work on a catless exhaust.  Even when I got there they didn't want to do the work.  Eventually I convinced them, doing the work, but reinstalling the OEM catted downpipe so that I would leave complaint with emissions.  They still charged me for installing a full turbo back all the same.  Then I just spend a few hours putting it back on later that night.


Next up, suspension setup.

Tuesday, June 16, 2015

Project Domino: It Finally Happened

Yesterday was a big day for Domino.  She was driving under her own power.  It almost brings a tear to one's eye.  Look at her slowly burn off years of old oil and fluids.  If my neighbors could see this, they would understand why the flowerbeds look like crap!


Project Domino: Final Throws

It has been a little while since I last posted anything about Project Domino, but rest assured, we have been making steady progress.

For an update, the wiring is all but buttoned up.  It is all completed except the DCCDPro.  All of the sensors, etc. are connected.  Everything is correctly grounded with my "JDM yo" grounding kit.

All of the water lines and power steering lines are hooked up.


The interior wiring.  Obviously the interior needs to be put back together fully.


All suspension and chassis component's torque specs have been double checked and verified on Domino.  It is not sexy, but it is good to know the rear diff will not come off while racing.


Wednesday, May 20, 2015

Project Saabaru: New Wheels

After owning my SAAB 92x Aero (aka Saabaru) since new (about 10 years now).  I finally broke down, and replaced my stock 16" wheels.  I went with the Enkei PF01s (18"x8.5") which actually are a very similar style to the stock wheel also made by Enkei.

I finally broke down because: for some reason, one of our part distributors we use at SteamSpeed has really cheap prices on Enkei wheels, if I take my 92x to events representing SteamSpeed other people care about the wheels, and I needed new tires anyway.

Original:

New test fitted:

My 92x in the U-Distirct with the new wheels and tires:

But, am I that guy now?  You know the one with the old car with old paint, and shiny new wheels trying to compensate for having an old car?

Here is the final look.  It is fairly close to the stock wheel, except a larger size that actually looks good.  It is still kind of sleeper looking but more aggressive, just how I like it.


I was told to not be lazy, so I cleaned up my headlights while I was at it.


Now that my car looks presentable, I added a SteamSpeed logo.  Too bad the D didn't fit all the way on the glass.


Wednesday, May 6, 2015

Project Domino: She's Alive!

Major milestone, we've managed to have the motor running.  What this means is the wiring is now all sorted out, and we managed to hook up the last fuel lines.  We only ran the motor for a few seconds because that is about all that is hooked up.  :)  With that said, we actually don't have a lot of major things to do to have Domino rolling around on her own power.


Things left before Domino is a working car:

  • Cooling system
    • Remaining coolant lines need to be hooked up
    • Needs to be filled
  • Power steering
    • Lines need to be connected to the pump
    • Reservoir needs to be secured
    • Filled up
  • Add gear oil to transmission and diff
  • Intake pipes
    • Last two IC pipes need to be hooked up
    • BOV installed
    • Intake installed
  • Chassis bolts need to be double checked against correct torque specs.  They should already be there, but we'll double check.
  • Install downpipe and catback
  • Reinstall interior
  • Relocate battery to trunk
  • Reattach a few body components
That might be enough to take Domino to get some licence plates.  Obviously there will be a lot more to do after that, but our next goal is to get her registered.

Wednesday, January 21, 2015

Project Domino: Inake Plumbing

There are a lot of advantages of the boxer engine layout: it has a lower center of gravity, it is intrinsically counter balanced, it is compact, etc.  One of the downfalls of the turbocharged Subaru boxer motor is all the extra plumbing.  The ports on the left head are as far away as they can be from the right head.  It forces the manifolds runners to be long.  For the EJ motors, the exhaust path is made to be a few feet long from the exhaust ports on the motor to the turbo.  But, the place the turbo fairly close to the factory top mount intercooler (TMIC), so at least that plumbing is minimized to a foot or so.  The FA20A DIT engine has super short exhaust runners before the turbo.  It still has a TMIC, but it is better to have a shorter exhaust path to maintain the energy than have a shorter boost path.

Here is the turbo off of the new 2015 WRX FA20 DIT motor:

FA20 DIT turbo and exhaust manifold

There are a few problems with the TMIC.  The first one is heat soak since it is right next to the turbo and engine.  The second one is size; there is only so much space to put a larger TMIC.  Also, you are limited by the scoop on the hood, and how well the splitter works getting the passing air through the intercooler.

A more optimal location is to have your intercooler on the front of the car.  Many factory turbocharged cars have front mounted intercoolers (FMIC).  That is where most cold air hits the car as you drive.  It won't get heat soaked from the engine and turbo.  Also, there is more space to put a very large intercooler.

At SEMA last year, I asked an engineer from a German intercooler company when is the intercooler too big.  He said there isn't "too big" for intercoolers.  That is mostly correct, but kind of an over simplification; however, the point of this post isn't to deep dive into intercoolers.  :)

Anyway, a FMIC on a Subaru is useful because of the previously mentioned reasons.  The down side is that it adds feet of extra piping which can increase turbo lag among other things.

We decided to run a FMIC on project Domino.  There aren't exactly kits on the market that are made for a GM chassis and a GD motor, so we had to make our own.

Here is all of the extra piping that needed to be added for the FMIC setup.


Check out the size of the core!  It is something like 32" x 12" x 3".  It is a little ridiculous, but it is actually the perfect size to fill the void in the bumper cover.  Plus, I have the German engineer on my side that it isn't too big. :)  We drilled some holes on the lightened bumper beam to mount it, and the bottom part of the bumper beam had to be cut out a little for the IC pipes to make it through.  There is no way that this would fit with the factory USDM bumper beam.  FYI, the JDM bumper beam doesn't have the lower part that I had to cut off.


Since we added an new 32" x 12" x 3" volume before the radiator, the bumper cover had to be trimmed.  How much?  About 4".


Here are some of the leftovers to give you an idea how much had to be cut away:


All cut out:


This is what it looks like mounted up.  There is literally no extra space in the bumper cover with this intercooler.


Additionally, we have been making good progress with the wiring.  The harness is all together and mounted.  We are in the testing phase right now before we plug the ECU in.


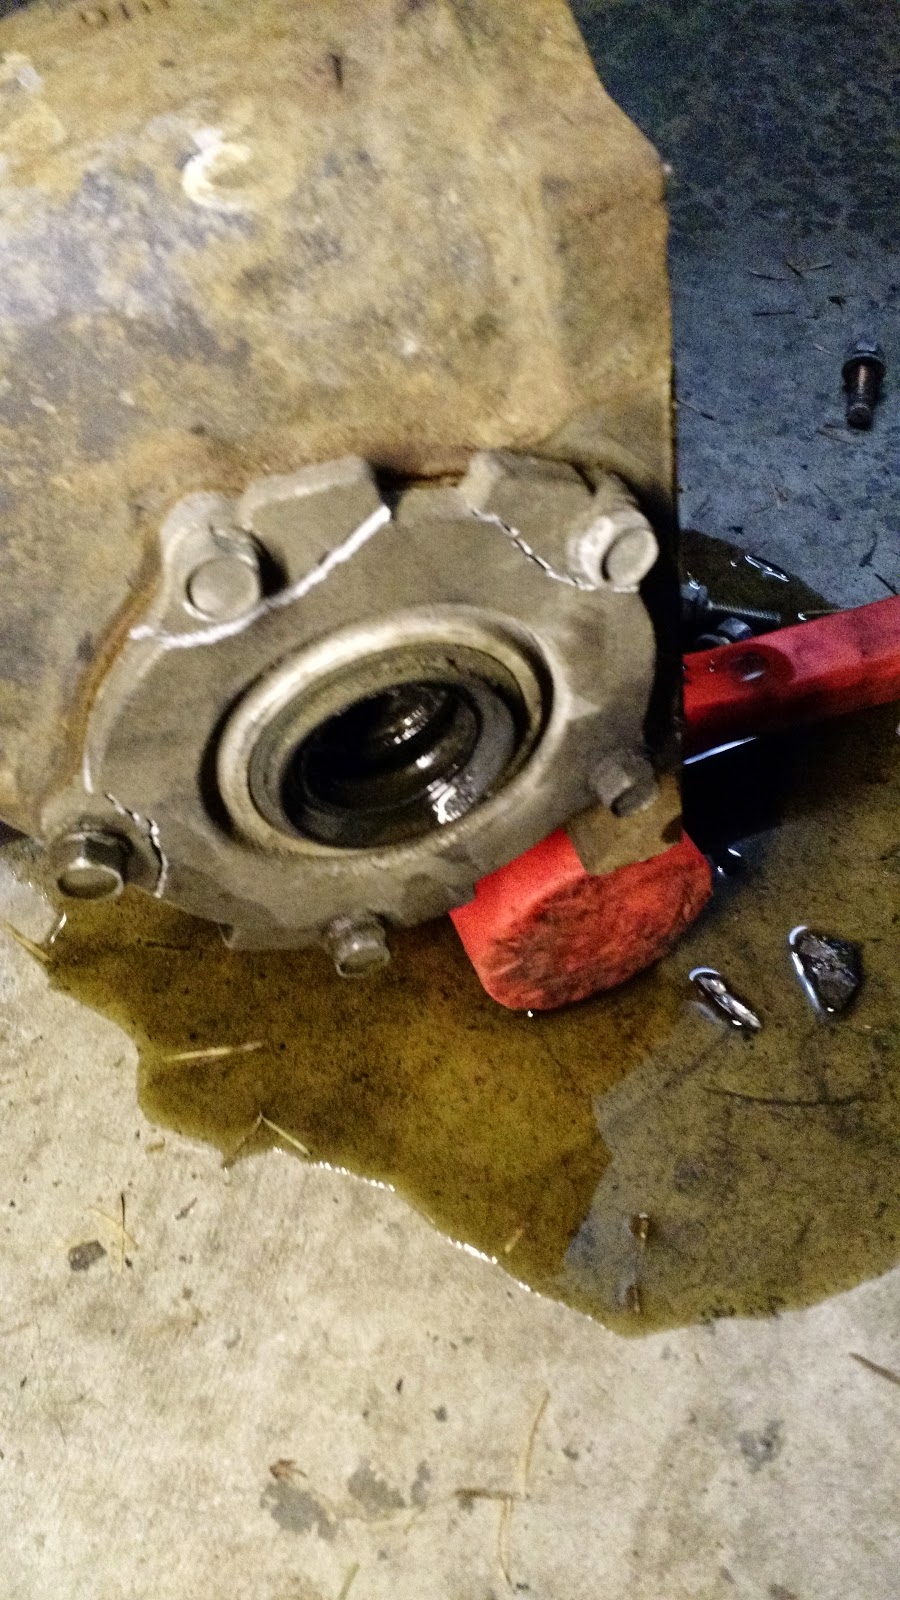
R160 + 400 ft*lbs = Complete Failure

Ever wonder why we swapped out the whole drive train in Domino?  The stock RS 5-speed drive line was mechanically working just fine.  The reason is because we are targeting 400 hp and 400 ft*lbs at the wheels.  The STI 6-speed + R180, and the 5x114 axles we are using can reliably run that kind of power without drama.  5-speeds cannot.

One of our other cars has been running with a stock 5-speed drive line with 460 hp and  400 ft*lbs at the crank.  Note: it was tuned *down* to 400 ft*lbs to improve the longevity of the drive line.